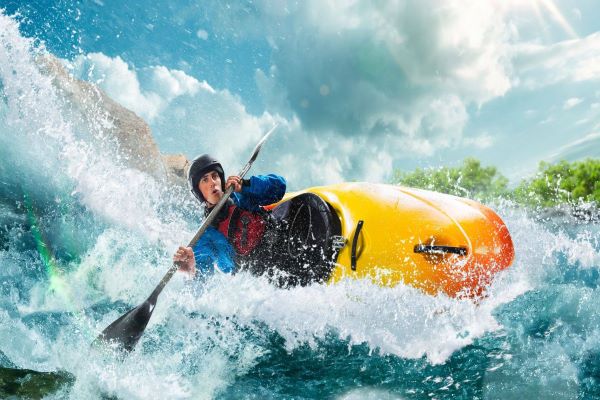
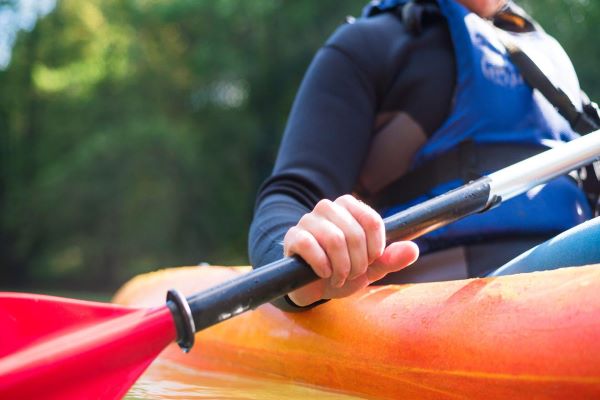
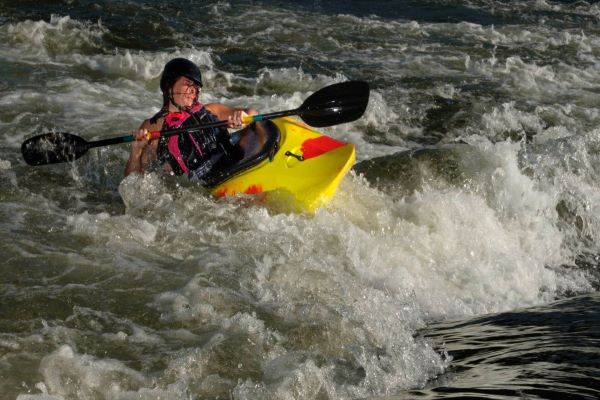
If you’re kayaking in rough water or whitewater, then you’ll need to use braces to maintain your balance. There are two types of braces-high and low-and each is used for different purposes. Learning how to use braces properly is much more vital if you plan on doing most of your paddling in a touring kayak, as opposed to a recreational kayak. In this article, we’ll discuss how to use high and low braces for better balance in kayaking.
What are high and low braces, and how do they work?
High and low braces refer to two different types of maneuvers that you can use to stop your kayak from flipping over and regain balance while kayaking.
The major differences between a high and a low brace are the position of the hands and the surface of the paddle blade that touches the water.
With a high brace, your hands are higher than your elbows (in the pull-up position). However, your paddle should not extend higher than your shoulders to avoid injuries – in essence, your elbows are tucked in. The power face of your paddle should be in contact with the water when high bracing.
With a low brace, your hands are lower than your elbows and your paddle blades are closer to the water, stopping your kayak faster from leaning sideways. The back of your paddle blade is used to slap the water when doing a low brace.
Let’s go through each type of brace step by step.
How to use high braces for better balance in kayaking

To perform a high brace, you’ll need to:
- Place your arms in a PULL-UP position – your hands are higher than your elbows, with the power face of your paddle facing downward.
- Extend your arms out at a 90-degree angle, perpendicular to your kayak and on the side you are about to flip on.
- Make sure you tuck your elbows and do not extend your shoulder too much to avoid injuries while extending your arms out for a high brace.
- Slap the water with the power face of your paddle blade, using it as leverage against the water to help keep yourself from flipping over.
- The flatter your paddle is when your blade hits the water, the better the support you’ll get.
- To get back into your paddling position, this may vary depending on the type of kayak you’re using.
- In a recreational kayak, you’ll need to lower your center of gravity by crunching on the side you are flipping on. This means you lower your head and body toward the water as you hip-snap your kayak back to return it to the upright position.
- In a thigh-hooked touring kayak, use your leg strength to pull up on the lower knee until your kayak is level again.
- Your head is the last part that should return to the upright position.
- Once you have regained your balance, you can resume paddling.
How to use low braces for better balance in kayaking

To perform a low brace, you’ll need to:
- Your arms will be in a PUSH-UP position so your hands are lower than your elbows and your paddle is low and close to the water.
- Extend your arms out at a 90-degree angle, perpendicular to your kayak.
- Hit the water with the back of your paddle blade, using it as leverage against the water to keep yourself from flipping over.
- Be careful not to put your weight on your low brace or else you risk sinking your paddle and capsizing completely.
- The last stage of the low brace involves how you return to your paddling position. This may be different depending on the type of kayak you’re using.
- You want to lower your center of gravity by lowering your head and body towards the water, using a hip snap to flatten out your kayak.
- If you have a thigh-hooked touring kayak, use your leg strength to pull up on the lower knee until the kayak is level again.
- Make sure your head is the last part of your body to return to position.
- Once you’ve regained your balance, slowly begin paddling again.
- Practice these techniques regularly until you feel comfortable using high and low braces to maintain your balance in rough water or whitewater kayaking.
When to use high and when to use low braces while kayaking
When kayaking, you should use the type of brace that is most comfortable for you. Some paddlers prefer to use high braces, while others gravitate towards low braces. Ultimately, the choice is up to you and what feels most natural for your body.
Some factors that may influence which type of brace you choose to include your level of experience, the conditions of the water, and your personal preferences. For example, if you are a newer kayaker, you may find that low braces are easier to master
On the other hand, more experienced paddlers may feel more comfortable using high braces in rougher water or whitewater conditions.
Ultimately, it is up to you to find the type of brace that works best for your body and your paddling style. Whether you prefer high or low braces, be sure to practice your bracing technique regularly and master the techniques so that you can safely navigate the water with confidence.
Tips for using high and low braces effectively
Here are a few tips for using high and low braces effectively while kayaking:
- Practice regularly to master the techniques.
- Use the type of brace that is most comfortable for you.
- Choose high or low braces based on your experience, the conditions of the water, and your personal preferences.
- Be aware of your body position and weight when using a high or low brace.
- Use the paddle blade as leverage against the water to help keep yourself from flipping over.
- Try different techniques and variations to find what works best for you.
- Stay focused, stay alert, and always be aware of your surroundings while kayaking.
Examples of how high and low braces can be used in different situations
There are many different ways to use high and low braces while kayaking, depending on the conditions of the water and your own personal preferences. Here are a few examples of how you might use them:
- Low brace in calm water – In calm water conditions, a low brace can be used to regain balance if you start to tip over. It is a relatively easy technique to master and can be done quickly in an emergency situation.
- High brace in rough water – In rough water or whitewater conditions, a high brace can be used to maintain balance and avoid flipping over. This technique is more difficult to master but can be very effective in challenging environments.
- Low brace in windy conditions – In windy conditions, a low brace can help keep your kayak from being blown off course. This is another situation where a low brace can be executed quickly and easily if needed.
- High brace in fast-moving water – In fast-moving water, a high brace can help you stay upright and navigate through the current safely. It takes practice to be able to execute this move effectively, but it can be very helpful in difficult waterways.
FAQs section
What is the safest type of kayak?
Modern inflatable kayaks are typically the safest option when navigating challenging water conditions, as they are designed with quality materials to provide improved stability and increased buoyancy in the event of flipping over.
Can you make a kayak more stable?
Yes, there are a number of different techniques and accessories that can be used to improve the stability of your kayak. For example, you can use outriggers (or stabilizers) to help counteract the forces of the water and keep you level. Additionally, adjusting your body position and weight distribution can help with stability. And of course, it’s always important to practice regularly and master the techniques for using high and low braces effectively, especially when kayaking in whitewater.
My final thoughts on using high and low braces for better balance in kayaking
Using high and low braces effectively can help you maintain balance and avoid flipping over in a kayak. It is important to practice regularly to master the techniques and to choose the type of brace that is most comfortable for you. Be aware of your body position and weight when using a high or low brace, and use the paddle blade as leverage against the water to help keep yourself from flipping over. Try different techniques and variations to find what works best for you, and always stay focused and alert while kayaking.
Leave a comment on your experience with using high and low braces while kayaking, and share any tips or advice that you have learned along the way.
