If you’re a kayak enthusiast, you know that maintaining your gear is crucial for a seamless experience on the water. Today, I’m going to guide you through maintaining your Hobie Twist & Seal hatches. It’s not just about keeping them clean; it’s also about ensuring they function smoothly for years to come.
Understanding the Mechanics of Hobie Twist & Seal Hatches
Getting to grips with the mechanics of Hobie Twist & Seal hatches is your starting point. These hatches are known for their reliability and ease of use, but like any mechanical component, they require regular maintenance to stay in top condition.
Here’s what’s going to be included in your regular check-up routine:
- A thorough cleaning to remove any build-up of salt,
- Remove Sand,
- Remove Dirt, or grime that’s inevitably picked up during your adventures.
Cleaning and Lubricating the Hatch Seals
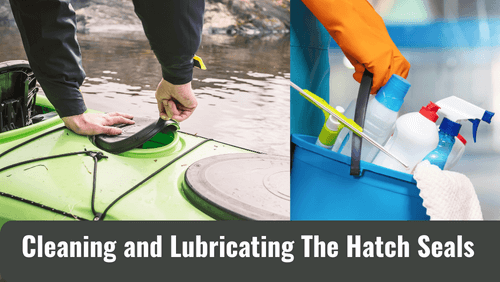
Here’s a simple step-by-step process for keeping those seals in good shape.
First, you’re going to make sure the hatch seal and the rim it closes against are spotless. This isn’t just about aesthetics; it’s about performance.
What you’ll want to do is gently wipe both the gasket and hatch rim with a suitable lubricant periodically, after you’ve cleaned them, to preserve their flexibility and sealing capability.
Choosing the Right Lubricant for Your Hatch Seals
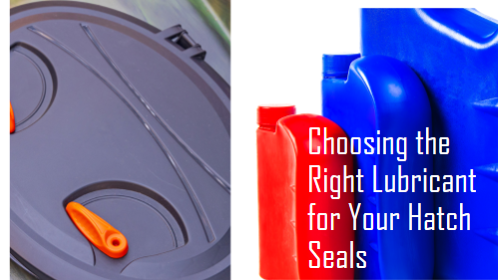
You might be wondering about the best lubricant to use. Well, silicone spray is often a top choice for kayak enthusiasts.
Gear Aid silicone spray and Hobie’s own UV protectant & restorer are fantastic options for keeping your hatch seals moist and responsive. But here’s something to remember: not all lubricants are equal.
Avoid using Inox on rubber hatch o-rings, as it tends to stretch the rubber, which can lead to difficulty opening and closing the hatches.
Replacing the Hatch O-Rings When Needed
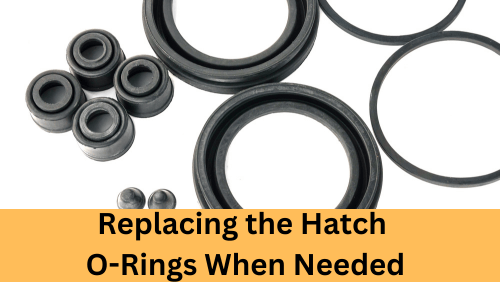
If you’ve cleaned and lubed everything, but your hatch is still stubborn or sealing poorly, the o-ring may be stretched out. I’m here to help you recognize when it’s time for a replacement. This is essential maintenance because once the seal isn’t effective, you run the risk of water getting into places it really shouldn’t be.
Keeping Your Cargo Hatch Seals Waterproof
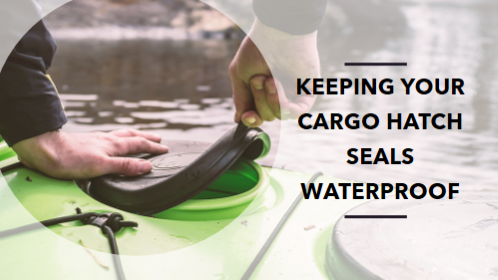
Proper maintenance of your Hobie Twist & Seal hatches is key to kayak performance and longevity. Choose something that resonates with you for routine clean-ups and stick with it. By following these guidelines, you’re going to keep those hatches twisting and sealing as if they were brand new.
And speaking of seals, let’s transition into an issue that plagues many kayakers – maintaining the integrity of large cargo hatch seals. The stakes are high when your cargo is on board, and ensuring a waterproof seal is your top priority.
Maintaining the Integrity of Large Cargo Hatch Seals
Maintaining a watertight seal on your kayak’s large cargo hatches isn’t just important; it’s crucial, especially for campers and scuba divers who rely on dry gear. The durability and effectiveness of your hatch seal can differ significantly depending on its design and how it’s maintained.
Comparing Common Hatch Styles

Let’s break down some common hatch styles. You’ve got the
1) Large plastic lid type, secured by cargo straps, which uses a gasket to seal the gap between the lid and the kayak deck
2) Ocean Kayak’s Scupper Classic
3) Perception’s Pro and Prism kayaks, showcase this setup.
4) Wilderness System’s Tarpon, which uses three cargo straps to keep the lid down tight.
Adjusting the Hatch Straps
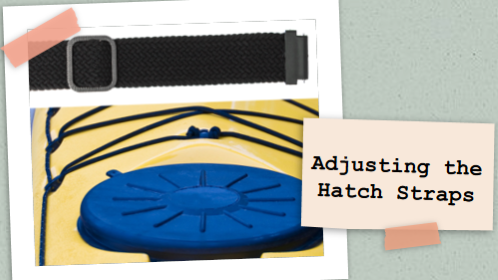
When it comes time to close these hatches, make sure those straps are snug before securing the lid. However, don’t go overboard; overtightening can lead to gasket damage. It’s all about finding that sweet spot where the latch clicks in firmly without putting undue strain on the seal.
Repairing or Replacing Damaged Gaskets
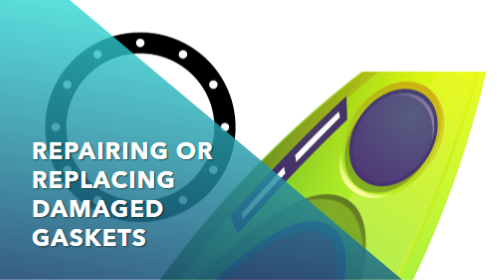
Ever squeezed a bulky package into your hatch, almost forcing it shut? Yep, that’s a recipe for gasket damage. If you’re stuck with a damaged gasket, you don’t have to go straight for a full replacement. Simple fixes like duct tape or even glue can sometimes do the job, at least temporarily.
Enhancing Your Hatch Seal with DIY Solutions
If you’re feeling crafty, or just prefer to save a bit, pipe insulation can serve as a cost-effective gasket replacement. Looking to up your seal game? Try doubling up gaskets for a stronger seal or adding extra cargo straps for assurance. For those smaller gaps, weather stripping can act as a secondary seal.
Preparing for Emergency Situations
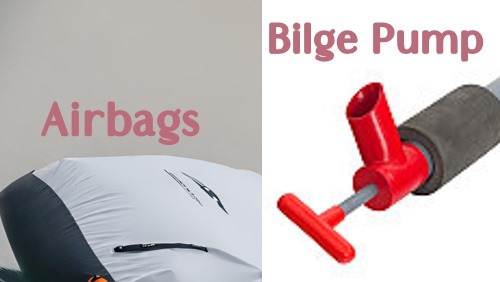
Of course, if worst comes to worst and your hatch starts leaking mid-trip, you’ll want safety measures in place. A bilge pump or airbags can be lifesavers, literally. They can help you manage any water ingress until you get back to dry land.
Exploring Alternative Hatch Options

Remember, hatch maintenance isn’t a one-size-fits-all scenario. Beyond the aforementioned styles, you’ve got alternative options like
- Neoprene Covers
- Toggled Plastic lids with O-ring gaskets, and
- Good Old Rubber Hatch Covers.
Whatever your setup, consistent care to prevent leaks is key.
Finding the Best Hatch Parts for Your Kayak
If the hatch seems beyond repair and it’s time for a new seal or an upgrade, The TopKayaker Shop is a solid go-to source for replacement hatches and parts. Choose something that resonates with you and your kayak’s needs.
Troubleshooting Hatch Seal Issues: Insights from Kayak Enthusiasts
Sometimes, you’re going to find that despite your best efforts, hatch seals can still give you a bit of a headache. Take Drifting Yak’s predicament, for example.
They faced challenges with the circular center hatch lid on their 2015 Outback kayak. After some detective work, it seemed that the rubber seal was the culprit since removing it let the lid close smoothly. Drifting Yak compared the problematic seal with the rear hatch’s to check for discrepancies, an excellent first step in getting to the bottom of alignment issues.
Identifying the Cause of Hatch Seal Problems
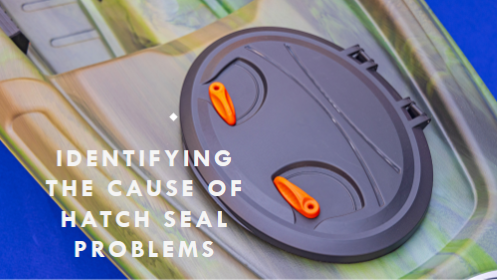
This is where the collective wisdom of the kayaking community really shines. Different kayakers swear by different methods.
Some suggest the use of olive oil, which can soften the rubber without causing damage, while others opt for commercial products like Dow 111 silicone grease to ensure a consistent action—although they’ll quickly point out that grease can attract grit.
And then there’s the camp that prefers something like Armor-All for a light touch approach.
Exploring Different Solutions for Hatch Seal Maintenance
The input from fellow kayaking enthusiasts, such as Mythman, Moken10.5, and JimBeaux, is invaluable. They’ve provided a variety of solutions based on their experiences, highlighting that there isn’t just one path to a perfectly functioning seal. For instance, JimBeaux uses silicone spray on O rings and latches and hasn’t reported troubles with sand or debris.
Finding the Best Method for Your Hatch Seal
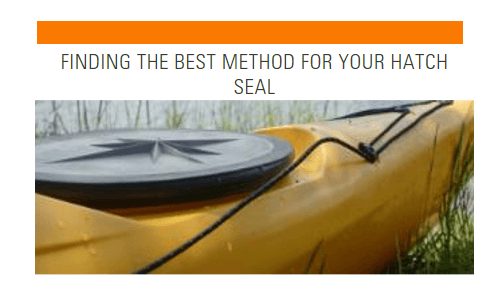
In my opinion, after considering these insights, it boils down to personal choice and specific conditions. You’ll have to experiment to see what works best for you. I really hope that this discussion has armed you with plenty of options for taking care of your kayak hatches.
Don’t stress too much if you don’t get it right the first time. Choose something that resonates with you, and you can always adjust your approach down the road.
Share Your Feedback and Experience
I’d love to hear your feedback on these tips. If you’ve tried out any of these methods, or if you have other tricks up your sleeve, leave your comments below. Kayaking is all about enjoying the water and the adventure, so make sure your gear is prepped and ready to make the most out of your experience!

For this newbie to Kayaking, I found this article to be very enriching! I had no clue what type of maintenance was going to be required for the Kayak I am planning to purchase.
That of course, is why I am researching what all I will be needing right now. Maintaining my gear and my vessel are key components of a long-term venture into Kayaking.
I have this article in my bookmarks now for easy referencing as remembering every one of these key tips on my seals and recognizing potential issues, along with all the other things I still need to learn will be hard.
Do you have any other suggestions that I should keep in mind for my new venture into Kayaking? I will be eagerly awaiting your response.
Stacie
Hi Stacie
I’m glad you found the article helpful and informative. Kayaking is a wonderful outdoor activity that can bring you joy and adventure. However, as you know, it also requires some preparation and care.
I recommend you go through kayaking tips for beginners. It has a lot of useful articles on topics such as whitewater kayaking techniques, paddles, gear, and accessories. You can also learn about some common mistakes to avoid when buying a kayak, and 10 essential features to look.
One of the tips that I think is very important for beginners is to RENT a kayak first before investing in one. This way, you can try out different types of kayaks and see which one suits your style and preferences. I had a similar conversation with someone over the weekend about the need to rent and try out different kayaks before settling for one that suits better.
Another tip is to budget for accessories before buying a kayak. You’ll need more than just the boat and the paddle. You’ll also need a personal flotation device (PFD), a dry bag, a bilge pump, a paddle float, waterproof communication means, a whistle, and maybe some other gadgets depending on your kayaking activity. These accessories can add up to the cost, so make sure you factor them in.
I hope these tips are useful for you.
If you have any more questions, feel free to ask me. I’m always happy to chat.
Happy Kayaking! Cheers.
Martins